
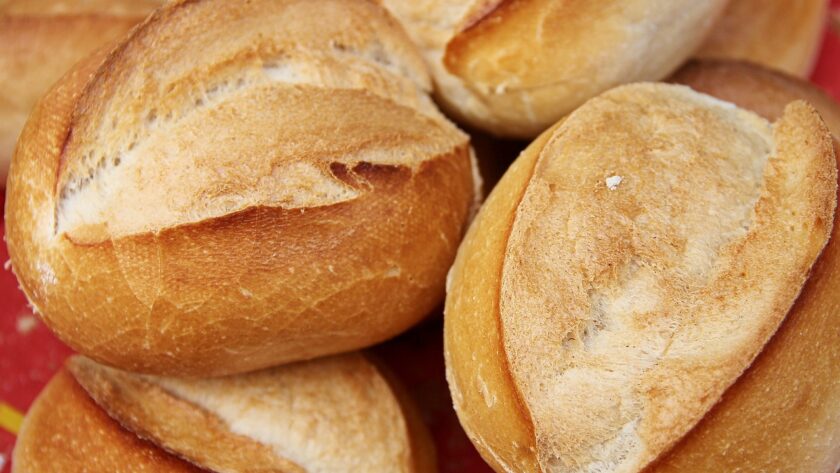
There’s something undeniably special about the aroma of freshly baked bread wafting through your kitchen. The art of baking homemade bread is a time-honored tradition that connects us to our culinary roots and offers a deeply satisfying creative outlet. Whether you’re a seasoned baker or a novice, this guide will provide you with valuable tips and techniques to perfect your homemade bread.
Before diving into the nuances of bread baking, it’s essential to have a strong foundation. Like any craft, bread baking begins with understanding your tools and ingredients.
1,The Essentials
The foundation of bread is straightforward: flour, water, yeast, and salt. However, the quality of these ingredients can significantly impact your bread. Invest in high-quality bread flour, fresh yeast, and consider using filtered water for consistent results.
2,Measuring Accurately
Precise measurements are crucial in baking. Use a kitchen scale to measure your ingredients, as it ensures consistency and accuracy, especially for flour and water measurements.
Yeast Matters
Yeast is the magic ingredient that makes bread rise. Active dry yeast, instant yeast, and fresh yeast are common options. Follow the recipe’s yeast type and activate it according to the instructions for the best results.
The Bread Baking Process
Baking bread involves a series of steps that transform simple ingredients into a loaf of bread with a perfect crust and crumb. Let’s break down the process.
Combine your ingredients in a large bowl, mixer, or bread machine. Mix until a shaggy dough forms. Be patient; it might seem dry at first, but it will come together.
Kneading is where the dough’s gluten develops. This process takes around 10-15 minutes of folding and pushing the dough. It should become smooth and elastic.
Allow the dough to rest and rise. This step, called fermentation, is where the yeast works its magic. Cover the dough and let it double in size, typically taking 1-2 hours.
After fermentation, shape the dough into a loaf or rolls. Ensure your shaping is tight to create a nice structure and even crumb.
Place your shaped dough in a proofing basket or a clean kitchen towel in a bowl. Let it rise again, usually for about 30 minutes to an hour.
Preheat your oven with a baking stone or cast-iron skillet to mimic a professional bread oven. Slash the dough’s top to allow for even expansion, then bake to perfection.
Types of Bread
Bread is wonderfully diverse, with an array of types and flavors. Here are some popular varieties to explore:
Simple and versatile, white bread is the perfect canvas for various spreads and fillings. It’s light, soft, and slightly sweet.
Whole wheat bread offers a nuttier flavor and a denser texture due to the use of whole wheat flour. It’s rich in fiber and nutrients.
Sourdough is famous for its tangy flavor and chewy texture. It’s made with a naturally fermented starter, which gives it unique character.
Rye bread is known for its deep, earthy flavor. It’s dense and often includes caraway seeds for extra flavor.
Multigrain bread combines various grains, seeds, and nuts to create a hearty, textured loaf.
Troubleshooting Common Bread Baking Issues
Bread baking can be finicky, and sometimes issues arise. Here are solutions to common problems:
Dense bread is often the result of insufficient kneading or overproofing. Knead the dough more next time or allow it to ferment for a shorter period.
Overproofing can cause the dough to collapse or be overly sour. Reduce the proofing time, and aim for a doubled volume.
An uneven crust can be due to uneven heat distribution in the oven. Use a baking stone or preheat a cast-iron skillet to help maintain consistent heat.